
By GURDAS DUA
FIIPC, FBAF, AFIP, Hon. FPASP, Hon. MSAP, Hon. Hon.ADCC, BVVWHO – Master, IIPC Platinum, PSG Gold
Andhra Pradesh Photography Academy – Life Time Achievement Award
Sony Alpha Brand Ambassador
As winter approaches , myself being professional photographer and having a zeal for pictorial photography, wish so much to move myself out of my house, set aside my assignments and go out of bounds for few photographic outings.
In most parts of my country India, winter is the best period of the year, when we set out for Travel Photography, because the eyes of a pictorial photographer look for soft silky warm light for best of their shots. This quality of soft ambient light is a gift from nature to the Pictorial Photographers who have made master pieces of photo art works using this light. The blend of morning mist, dust or smoke with soft light can create painting like effects in photographs.
Winter season is also best for wildlife and bird photography. Reserve forest and national parks after rainy season and harvesting of long grass reopens for public and this is the time when migrated birds come to India for breeding and stay till end of the winter season. So wait till scorching summers followed by lush-wet rainy season is over and get set go for travel photography in winters.
This is the golden opportunity for travel photographers who can opt for coming to India for photographing Wildlife in reserve forest or National parks, Migrated birds in bird centuries, People, Nature, Historical monuments, Cityscapes, Rural landscapes, Sea shores, Backwater areas , Hills and Mountain landscapes, including snow-clad peaks, Lakes, Ponds, Rivers, Waterfalls, Sand dunes etc.
Whatever destination you choose for your travel photography this winter, you should be sure to be geared up with proper camera and lenses. If you are a serious photographer no matter professional or hobbyist, you should have at least one Digital SLR / SLT camera with full range of wide to tele lenses.
To get best of whatever you shoot, It is a must for SLR / SLT camera owners that they should be familiar to the basics of photography, the camera features and it’s settings and few pictorial laws which masters in field of art photography have set so far.
I follow a formula for doing Pictorial Photography.
Remember a word PICTO and place first letter P at last and last letter O at first. What you get is OICTP
O stands for- Originality of the Subject Matter
I for- Interest in Subject
C for- Composition & Lighting
T for- Technique
P for- Presentation
ORIGINALITY of the subject matter:
A painting artist and a photographer both create artistic images. One uses canvas, colours and brushes and other uses camera and lenses.
A painting artist sitting in a room can imagine a landscape, its composition, lighting, formation and colours and can bring it to canvas with help of brushes & colours.
But Photographer cannot do this; he will have to look for the subject in his surroundings and hence will have to keep his eyes open to find out his subject from his surroundings.
For this purpose the training of the eye is necessary.
The training to the eye can be given by adopting few rules of composition and lighting.
Whenever you find a subject in your surroundings, ask yourself a question, Have you seen this or this type of subject before? If the answer is No, a high rank can be given to the subject matter, because it is original.
Interest in Subject: But at the same time the subject should be interesting also. The subject may be original but if it’s ugly looking and do not have any beauty in it, it may not be interesting to look at. So it does not make any sense if the subject is not interesting. So look for the original subjects with interesting elements in it.
Interest in the subject matter can also be created by using photographic techniques. But at the time of selecting the subject matter photographer should conceive the concept of creativity.
COMPOSITION:
In Photography, composition is the placement or arrangement of visual elements in a work of art
Visual Elements can be: patterns, texture, symmetry, depth of field, lines, curves, shapes, frames, contrast, color, viewing angle, depth, negative space, filled space, foreground, background etc.
Use one or more of these elements to create a composition that works for your image.
1. Look for relief in Background –
Take first step to look at the background and decide if you want to keep it Sharp or Blur. Background should not be disturbing. Avoid Disturbing Elements, Bright or light patches, vibrant colours if any in the background. There should not be any vertical or horizontal lines in the frame which may divide your picture into two. One should look for the diagonal leading lines which may lead your eye to the main subject.
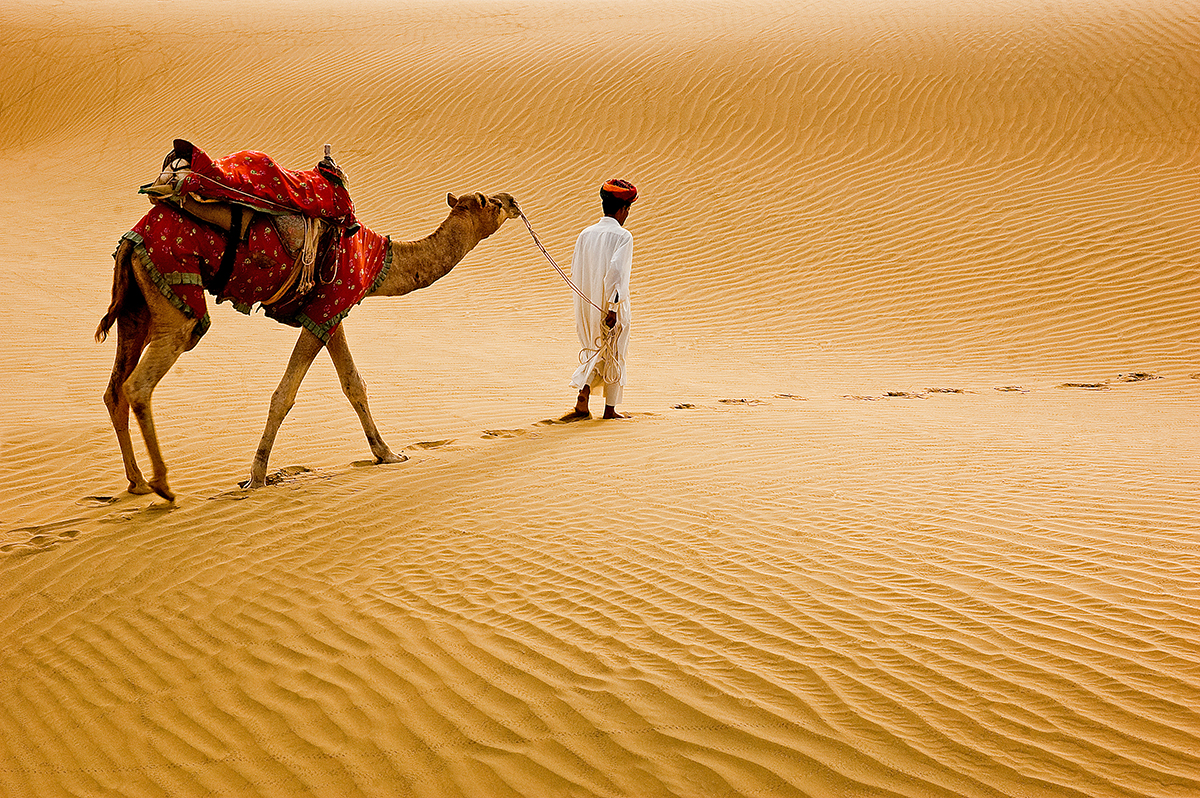
Example: Desert Traveler
2. Follow Golden Rule of 2/3
The golden rule says- If the sky portion is very interesting i.e. if it has dramatic clouds or some interesting attractive colours then 2/3 portion of your frame should have sky portion and only 1/3 portion should have land and vice versa.

Example: Neelgiri Mountain Range.
3. Try avoiding too many objects in your frame –
The Main subject should not be dominated by any other object or objects. If at all they are to be included in the frame they should be supplementary or supporting to the main object.
4. Placement of the main Object:
Avoid placing your main subject in the center of the frame (except in wildlife and nature). It should be placed in either of the four corners.
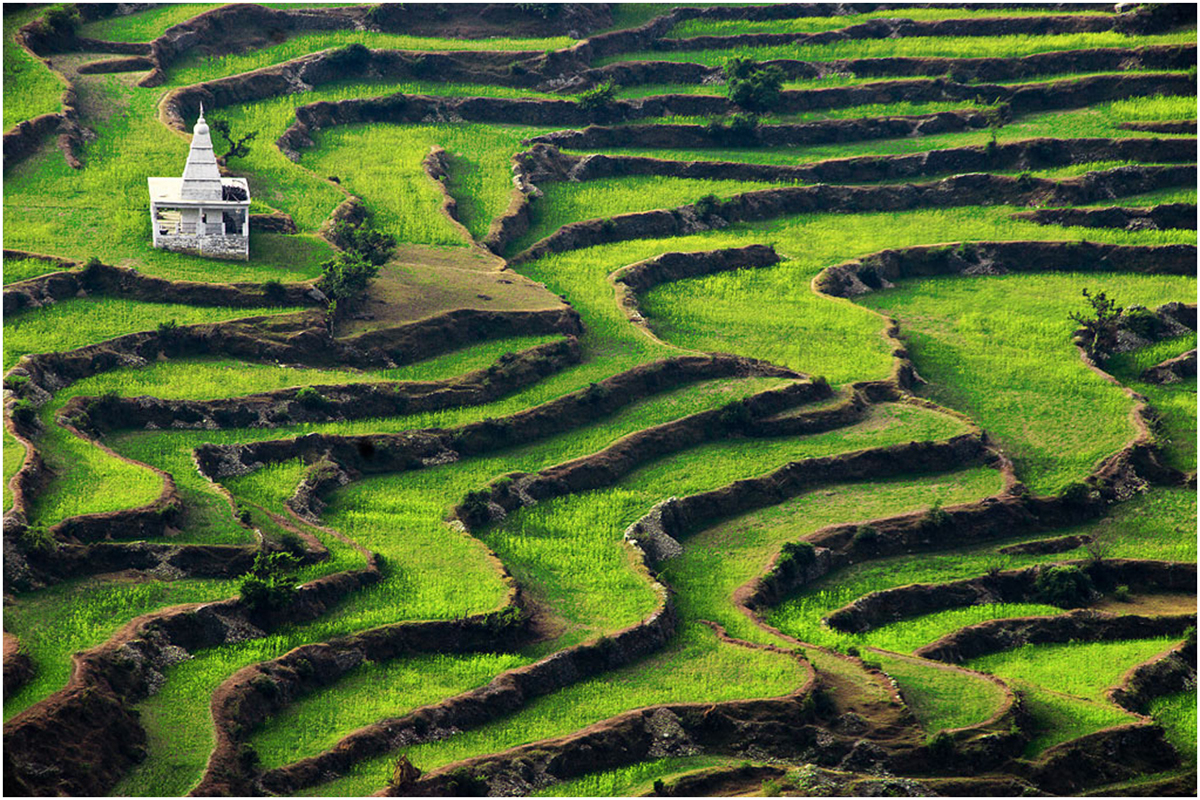
Example:Temple at Step Farms
5. Formation types-
Look for Triangular, Circular, Oval, U, S L type formations in your composition. These type of formations have smooth curves and so have a Rhythm in composition.

Example: Grandeur of Narbada,
6. Texture & Pattern: Photographs having textures and patterns can be very interesting to look at.
Example: Arches & Temple at Step Farm
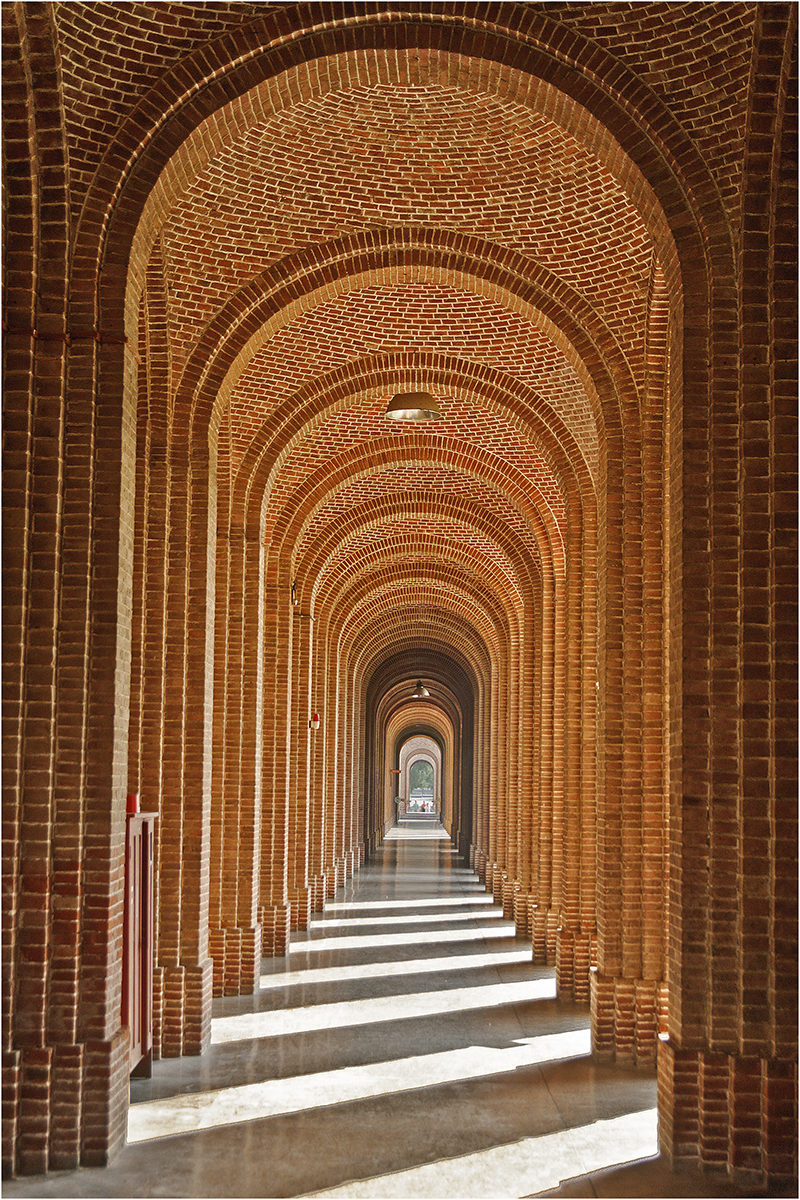
Arches
7. Totality in your frame:
Proper Spaces in front back, above and down your object. In foreground a tree leaves can be included to fill the blank or uninteresting ground or sky portion.

Example: Fall Season
8. Tone gradation:
Tone gradation plays a vital role in photography. Light to Dark and white to black, if has a great tonal range, gives more visual impact.

Example: View from Kausani
9. Understanding Colors:
One should have a great understanding of colors. Use of Primary & Secondary colors, Hot & Cool Colors in your frame can be very effective for making color balance & Color Harmony. You can balance the composition by taking good use of the colors. Prominent color of the main object can be balanced with the subdued colors of the rest frame . For example your main subject is smaller in size which has a very prominent bright primary red color can be balanced with subdued secondary color in rest of the frame which has much larger area as compared to the main subject.
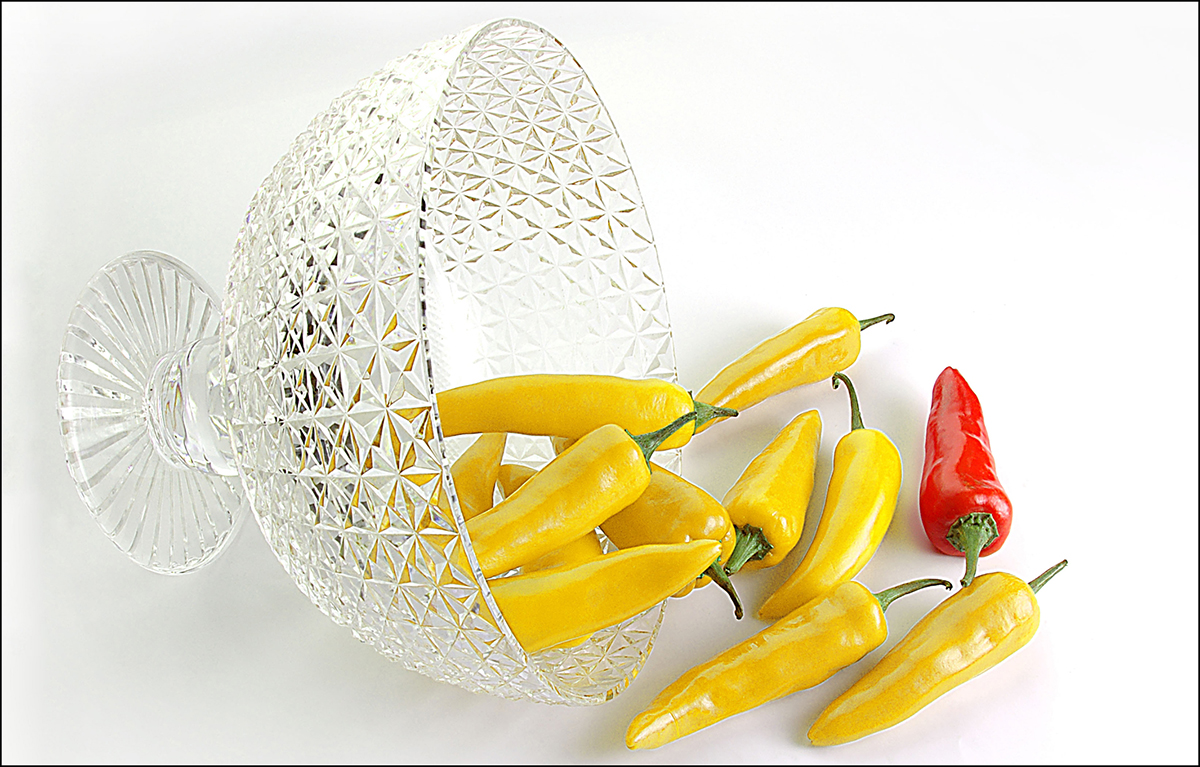
Example: Pepper in bowl.
LIGHTING
The best time for outdoor photography is generally morning and evening hours of the day when sunlight is at 30 to 45 degree angle and it is warm and soft. Photographers call it ” Golden Hour Lighting”.
The simple principle is Hard light forms hard shadows and soft light form soft shadows.
That’s why pictures taken in soft light has less contrast and gives a great tonal value.
Here are some tips of using available light creatively.
· Shooting your subject against strong light will give you Silhouette image

Example: Sunset Safari
· Back light in the morning or evening when mixed with dust and smoke can create a painting like effect.

Example: Jungle Safari
· Morning soft light mixed with fog creates an artistic effect
.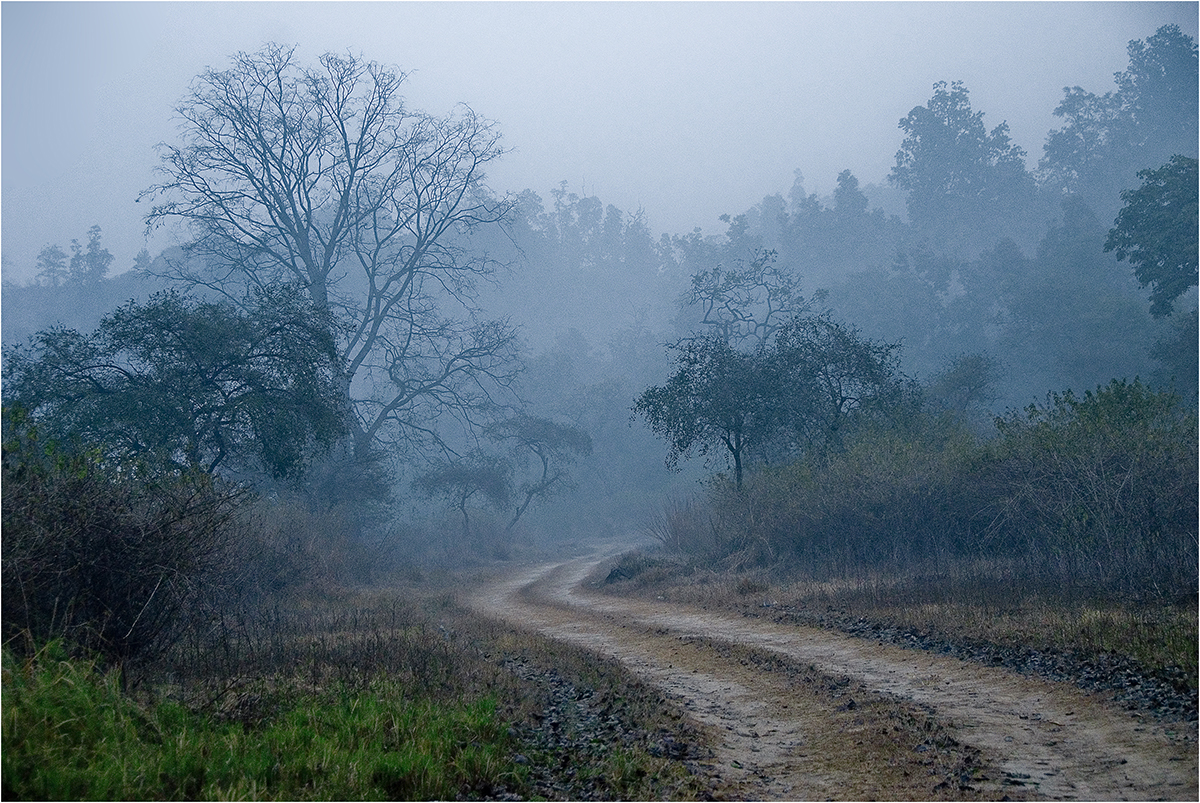
Example: Foggy Morning·
Lighting from one side on people faces, which we call window lighting looks very creative in Portraits
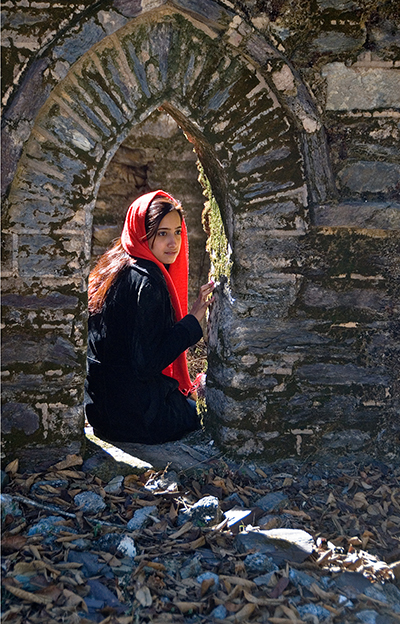
Example: Girl in Red Scarf
· Soft Back lighting or Rim light in portraiture with reflected light from front is Glamorous lighting

Example: Young Dear
· Strong Back light passing through subject like petals of flowers gives it a bright vibrant color when taken against dark background.
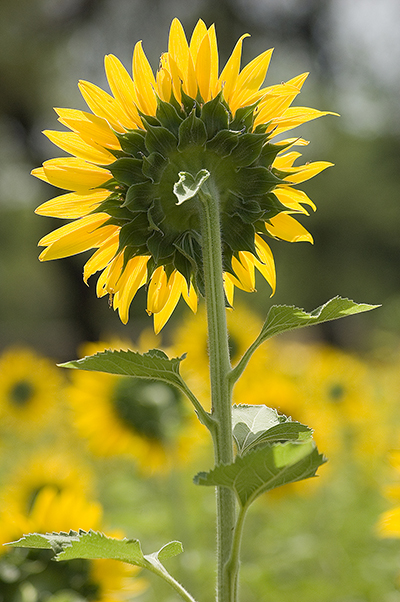
Example: Sunflower
· Light reflected through color objects may give color tones on your subject.

Example: Candy Treat
· Light reflected from white subject can be used as fill in light.

Example: Affection
TECHNIQUE
Depending on your subject you may use different Camera techniques and Photoshop techniques to bring creativity to your work.
· Panning-
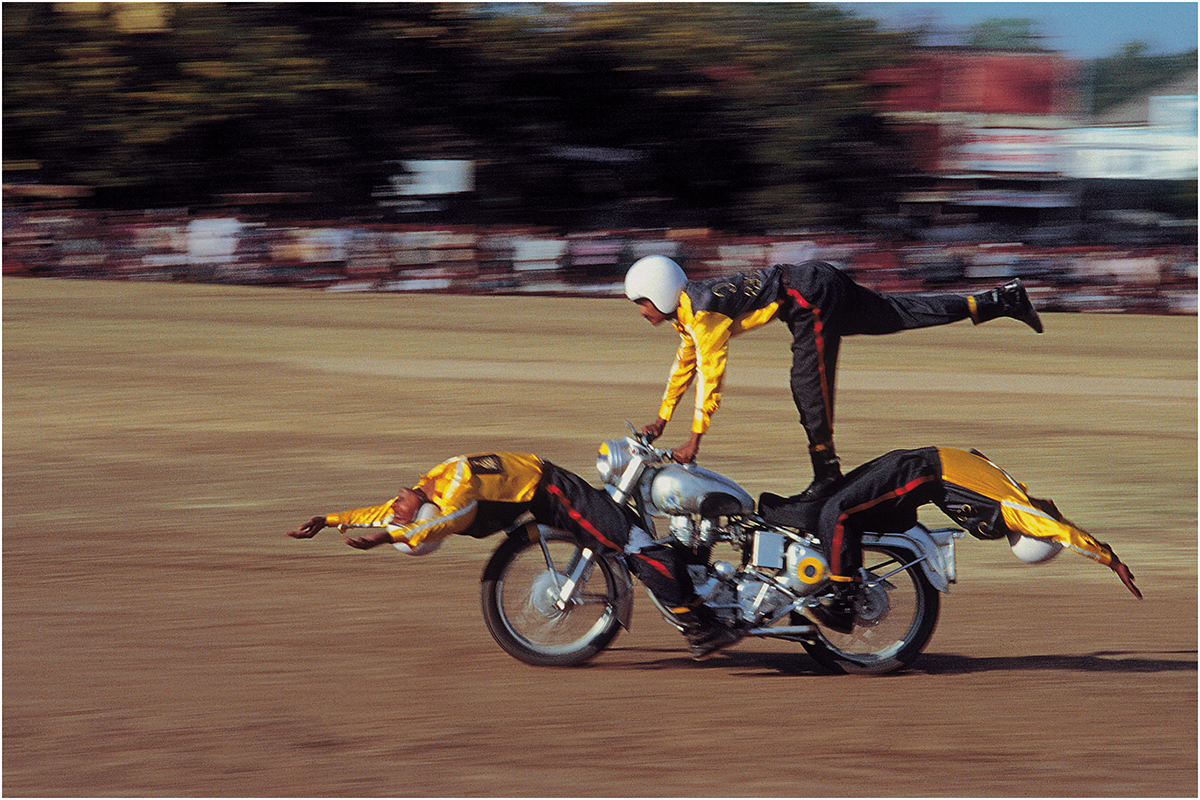
Example: Dare Devils
· Zooming-
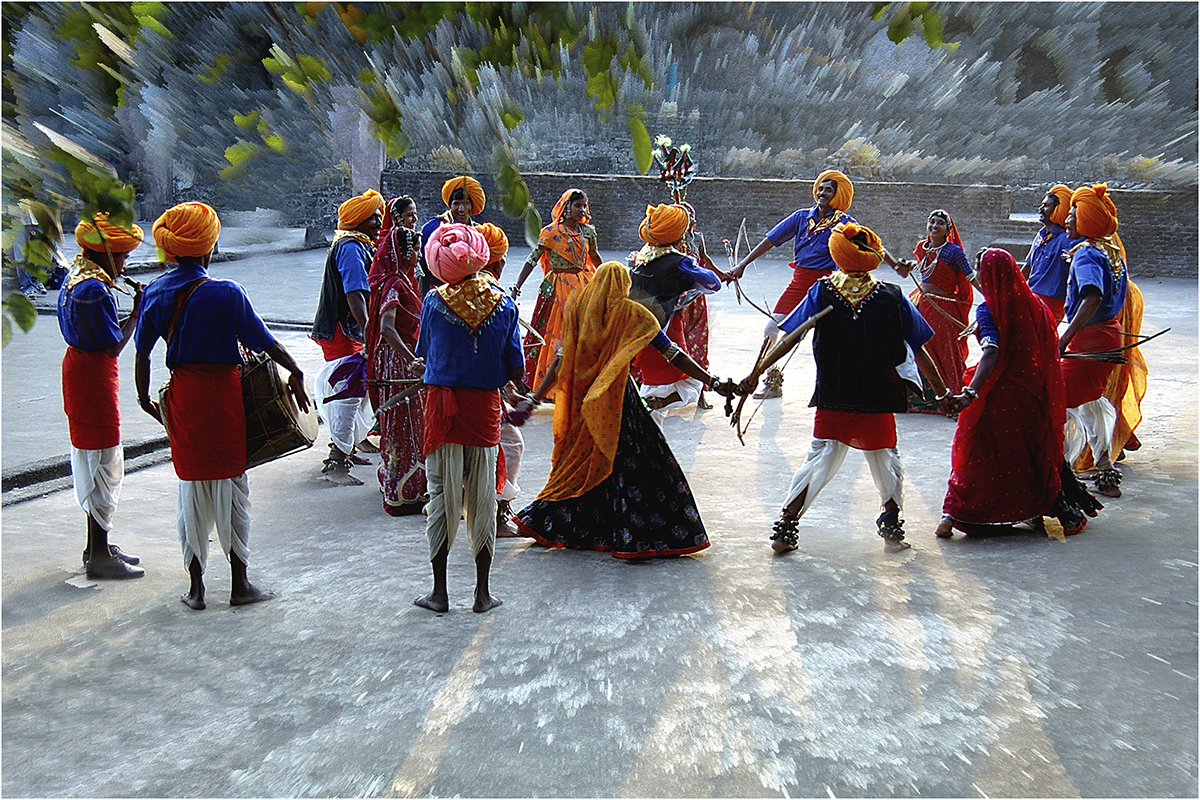
Example: Bheel Tribe Dance
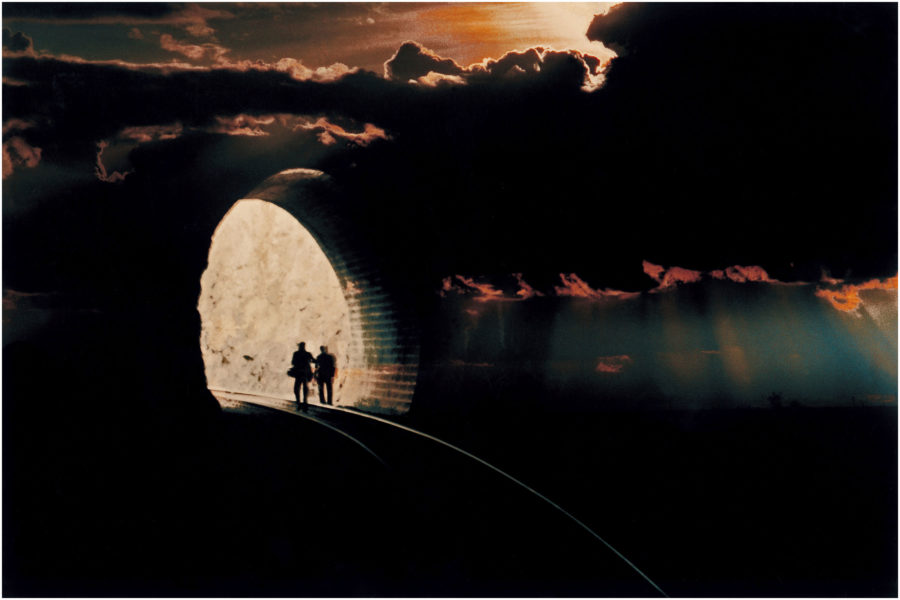
· Solarization-

Example: Monk’s Walk
· Postrization

Example: Ancient Mandav
· Hi Key effect-

Example: Arabian Lady
· Low Key effect

Example: Opera
· Effect of slow shutter speed.

Example: Waterfall
· Effect of Fast shutter speed.

Example: At the Heart
· Time exposure
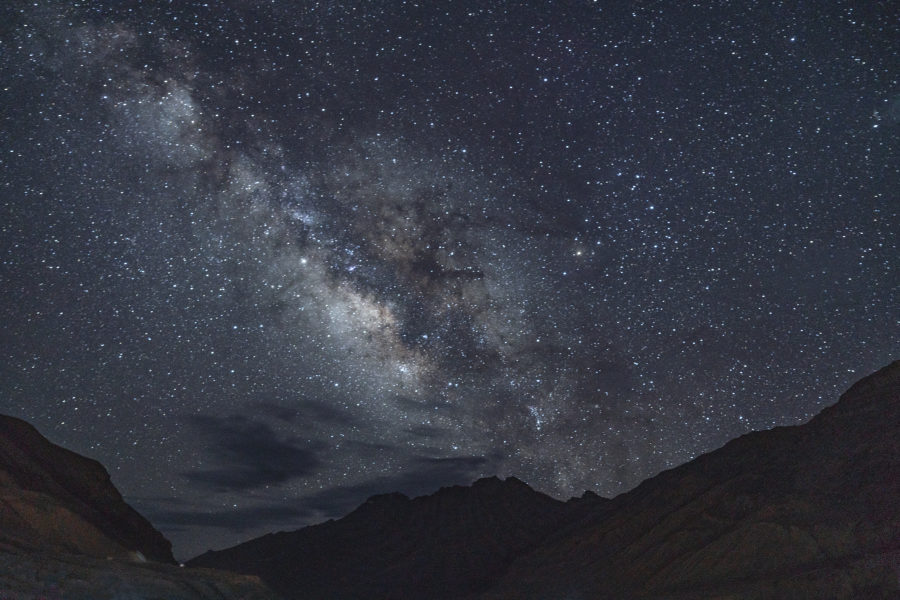
Example: Milkyway
Multiple Exposure
Example: Gateway to Paradise
· Shallow Depth of field-

Example: Cormorant
· Longer Depth of field-
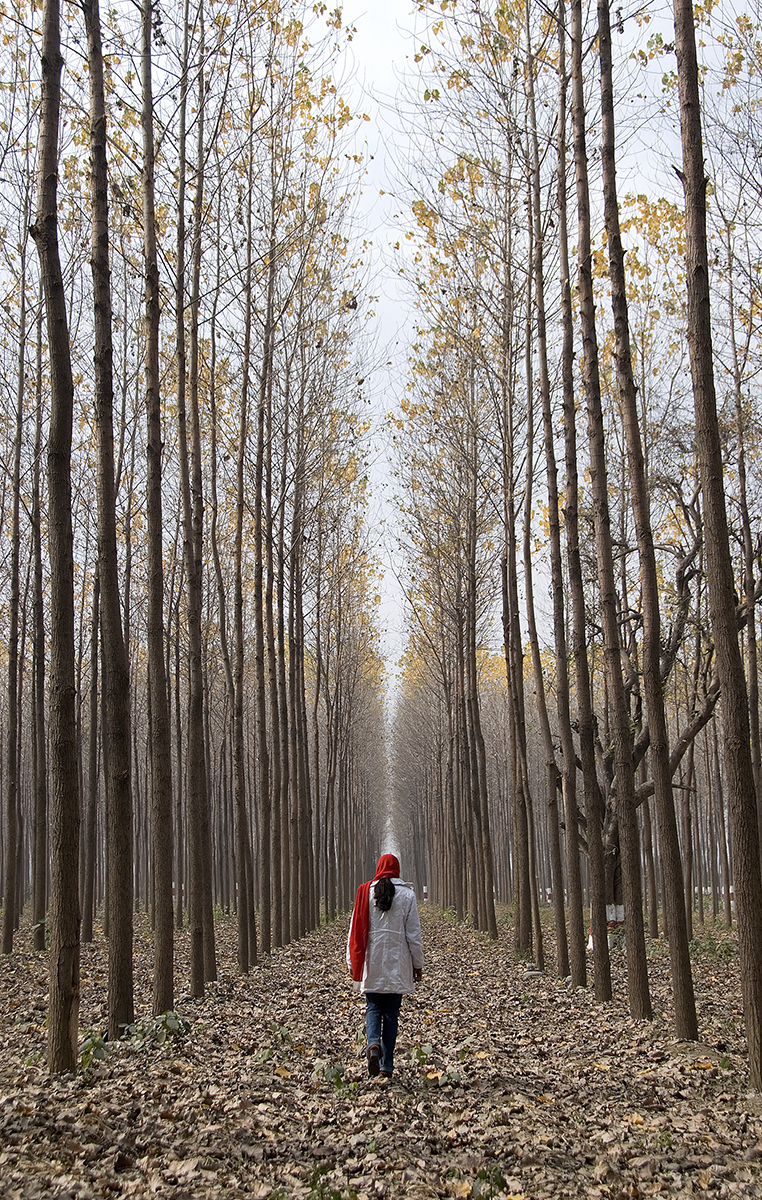
Example: Walk in the forest
PRESENTATION
After getting good shots from your camera, you may need to improve it in your digital darkroom (Photoshop or any other software you work on) for getting excellent printing results. If you have taken your pictures in Raw format, you may have to work on Raw adjustment window and do few density corrections, color corrections for adjusting color saturation, color contrast in your picture. You may also have to sharpen your images if you have not opted Sharpening in your camera. And finally choosing proper print media for making an outstanding print.